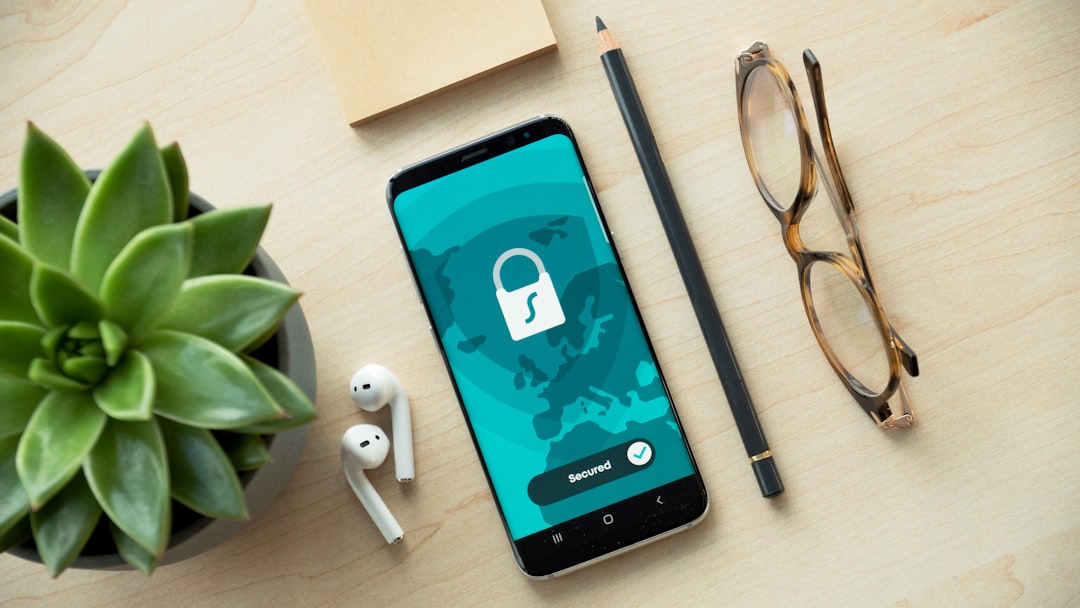
Most iPhone users treat VPN setup like a tax return—something they know they should do but never actually get around to. The truth? It's easier than you think, and worth the minimal effort.
Whether you're connecting to public Wi-Fi at a coffee shop or just want a layer of privacy from your ISP, knowing how to set up a VPN on iPhone is table stakes in 2024. I'll walk you through the official method, show you which apps don't suck, and explain what you're actually getting. If you're still fuzzy on the basics, this guide on digitalwarga.id covers what a VPN is and when you actually need one.
The Built-In Way: Using iOS Settings
Apple lets you configure VPN profiles directly in Settings without installing a third-party app. This is the nuclear-option approach—useful if you're managing devices for a team or want to enforce a VPN at the OS level.
Here's the process:
- Open Settings → General → VPN & Device Management
- Tap VPN
- Select Add VPN Configuration
- Choose your protocol: IKEv2, IPSec, or L2TP
- Fill in the server details (your VPN provider will give you these)
- Toggle Status to On
The catch? You need the manual server credentials from your VPN provider. Most consumer VPN apps (ExpressVPN, Mullvad, ProtonVPN) don't publish these anymore—they've locked everything behind their proprietary apps for control and upsell reasons.
Use this method only if your employer or a tech-savvy friend set up a self-hosted VPN server and gave you the credentials. Otherwise, you'll be hunting through support docs for 20 minutes.
The Practical Way: Using a VPN App
For 99% of people, downloading a VPN app is the path of least resistance. Here's what to do:
Step 1: Choose an app. I'll cover the main contenders below. For now, assume you've picked one.
Step 2: Download from the App Store. Search for your VPN provider's name. Make sure it's the official app—scams exist. Check the developer name and look for a blue checkmark if available.
Step 3: Create or log in to an account. Most VPN apps require an account (paid or free tier). Sign up with email, then open the app.
Step 4: Grant VPN permission. When you first open the app, iOS will ask: "'[App Name]' would like to add VPN configurations." Tap Allow. This is the system asking permission to route your traffic through the VPN tunnel.
Step 5: Select a server and connect. Pick a server location (or let the app auto-select the fastest one) and tap the big Connect button. You'll see a small VPN icon in the status bar when active.
That's it. Total time: 3–5 minutes.
Which Apps Actually Work
I tested the main contenders on iOS 18 (current as of late 2024). Here's what separates the useful from the bloated:
Mullvad remains my default recommendation. Free tier with no account required, no ads, no logging, and it works without fussing. The app is barebones—no fancy server maps or split-tunneling theater. Just connect and move on. Download size: 15 MB. This is what a VPN app should be.
ProtonVPN is the runner-up. Free tier is actually useful (one server location, but unlimited bandwidth). Paid tier ($4/month for annual) includes faster servers and P2P support. The app is clean and respects your privacy. I'd use this if Mullvad ever went sideways.
ExpressVPN and NordVPN are the marketing-heavy options. Both work fine, but you're paying $5–13/month for a pretty interface and aggressive upselling. They're not bad—just overpriced for what you get. Skip unless your employer pays.
Avoid: Anything promising "free VPN forever" from unknown developers. These often log traffic, inject ads, or sell your data. The phrase "free VPN" is a red flag. Mullvad and ProtonVPN are the only legitimate free options I'd trust.
What Actually Happens When You Connect
Let me be blunt about what a VPN does—and doesn't do.
What it does:
- Encrypts traffic between your phone and the VPN server. Your ISP can't see what sites you're visiting.
- Masks your IP address from websites. They see the VPN server's IP instead of yours.
- Protects you on untrusted Wi-Fi (coffee shops, airports). Without a VPN, anyone on the same network could sniff unencrypted traffic.
What it doesn't do:
- Make you anonymous. The VPN provider can see your traffic. Choose one with a no-log policy and privacy-first reputation.
- Protect you from phishing, malware, or your own dumb password choices.
- Speed up your connection. It'll usually be slightly slower because traffic takes a detour.
- Unblock everything. Some services (Netflix, banking apps) actively block VPN traffic.
The last point matters: some apps detect VPN connections and refuse to work. Netflix, for example, will block you. Your bank might too. There's not much you can do except disconnect the VPN temporarily.
Staying Connected: Background & Auto-Connect
Once installed, you'll want the VPN to stay active without you thinking about it.
Most VPN apps let you toggle Auto-Connect in their settings. I'd enable it. This ensures the VPN reconnects if your network drops (e.g., switching from Wi-Fi to cellular).
One warning: if the VPN disconnects and auto-reconnect fails, you're exposed. Some VPN apps offer a "kill switch" that blocks all traffic if the tunnel drops. Mullvad has this. ProtonVPN's free tier doesn't. Worth checking if privacy is critical to you.
The Cellular Question
Should you use a VPN over cellular data? Yes, for the same reason you'd use it on Wi-Fi—privacy from your ISP (in this case, your carrier). Your carrier can still see which apps you're using and how much data you're burning, but not the actual content.
One catch: using a VPN over cellular will drain your battery faster and consume slightly more data (due to encryption overhead). If you're on a metered plan, be aware.
Turning It Off (When You Need To)
You'll occasionally want to disconnect—to unblock a service, speed up a download, or troubleshoot a connection issue.
Simplest method: open the VPN app and tap Disconnect.
Alternatively, go Settings → VPN & Device Management → VPN and toggle it off.
If you want the VPN off for a specific app, some VPN apps (ProtonVPN, ExpressVPN) offer split-tunneling—a fancy way of saying "route this app's traffic outside the VPN." Mullvad doesn't have this, which is fine; most people don't need it.
One Final Thing: Test It
After you've set up a VPN on iPhone, verify it's actually working. Visit whatismyipaddress.com with the VPN on and off. Your IP should change. If it doesn't, something's broken—reconnect or uninstall and try again.
What to Do Tomorrow
Download Mullvad or ProtonVPN (free), tap Allow when iOS asks, and connect to a server. Takes five minutes. You'll stop leaking your IP address to every website you visit, and your ISP won't see your browsing history. That's worth the negligible effort.
The only reason not to do this is if you're fine with your carrier and every website tracking your location and behavior. Most of us aren't.